The year 2002. January and half of February have come and gone and I seem to have made very little progress. The south coast has been subjected to winds of 80MPH which has played havoc with the plastic curtains around the boat. No sooner I attach them in some semblance of protection against the torrential rain which seems to be permanently horizontal, then the wind gets up and tears them down again. I know when I'm beaten!
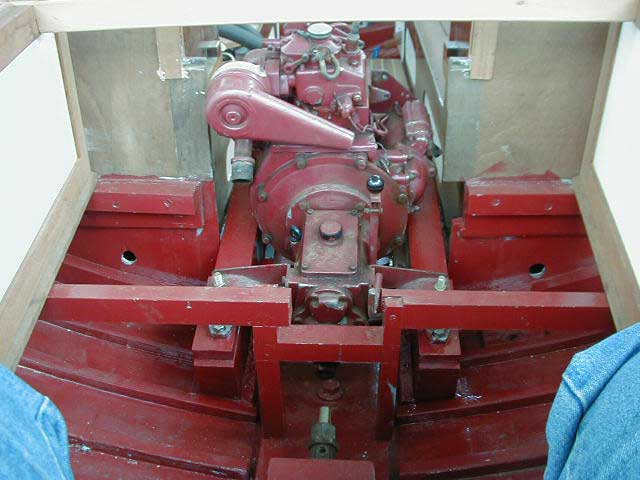
I need to install the engine before I do any more work to the cockpit as I would rather fit the cockpit furniture around the engine than shoehorn it in. I'm sure it will save time in the long run. The first problem encountered was with the engine bearers. I do not know what engine was originally installed. My guess is that around 1955 it would have been a two stroke petrol engine, probably a Stuart Turner which were popular at the time. However the engine bearers are at 13" centres and too narrow for the Petter engine which I am installing.
The engine mounts on the Petter are at 15" centres. If I remove the bearers and replace them with new ones set wider apart I would be left with screw holes in the bottom of the boat which would be difficult to plug successfully and in any event would be right under the engine and inaccessible if one started to leak. Fortunately, I needed to raise the height by 60mm so I have made new bearers 62mm wide and 110mm deep. Rebated them 50mm deep by 25mm wide and glued and through bolted them with 12mm bolts to the originals.
Another problem on the horizon is where do I site the fuel and water tanks and what size do I get them fabricated to. I would like a minimum of thirty hours running and more if I can get it and at least 20 gallons of water. Ideally I would like them under the floors of the cockpit lockers and one each side with the fillers coming up to the top of the side benches for ease of filling. It is going to be a question of weight and trim so it's got to be a drawing board job. The gas bottle locker has been made but the siting of it is part of the trim equation.
All of the Brazilian Mahogany to complete the cockpit furniture is to hand. It is just a question of getting on with it.
The bottom rudder pintle has had the old worn pin drilled out and a new one turned and welded in and is currently at the Galvanisers and a new nylon bush to fit the bottom gudgeon has been turned and is ready for fitting. When all of the parts are to hand the rudder can be offered up and the top gudgeon positioned for drilling through the transom and bolted on. The datum for this and the backstay chain plates was lost when the transom was cut out and new wood scarfed in. All of this has got to happen before I can finally glue and screw the ply substrate after deck on.
Half way through March and progress still seems painfully slow. The engine has been installed up to a point! The propeller shaft on the boat is 3/4 inch diameter and the rear coupling on the engine was bored for a 1" shaft. This had to be jig bored out larger and sleeved to 3/4 inch, welded in and the keyway re-cut.
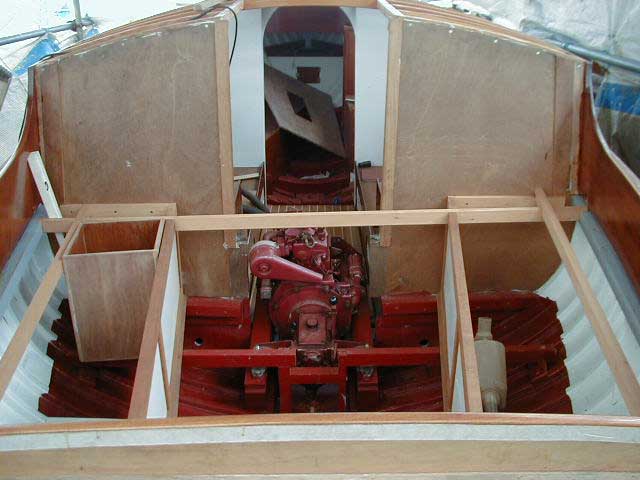
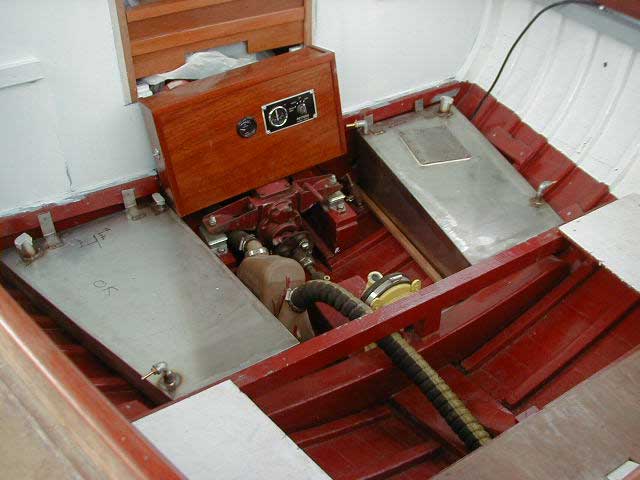
The engine was test run on the ground and thoroughly checked over before being lifted into the boat. New engine mounts were fitted and the engine lifted in with a chain purchase, lowered on to the bearers and carefully lined up. All achieved in one day! With that task over I could press on with deciding where I could site both the fuel and water tanks and the batteries. Both tanks could go below the cockpit locker floors, rather awkward shapes as they had to follow the curvature of the hull in two planes and I have had to make patterns for them to be made to. These will both be stainless steel. The fuel tank will hold a calculated 8 gallons giving a running time of 24 hours. The water tank is about half a gallon less as the width of the tank space was restricted by the engine cooling skin fitting and sea cock. The weight has been kept in the bottom of the boat which has pleased me as the new engine is a little heavier than the original which I believe was a Stuart Turner and is two inches higher in the boat. Hopefully I have restored the "status quo".
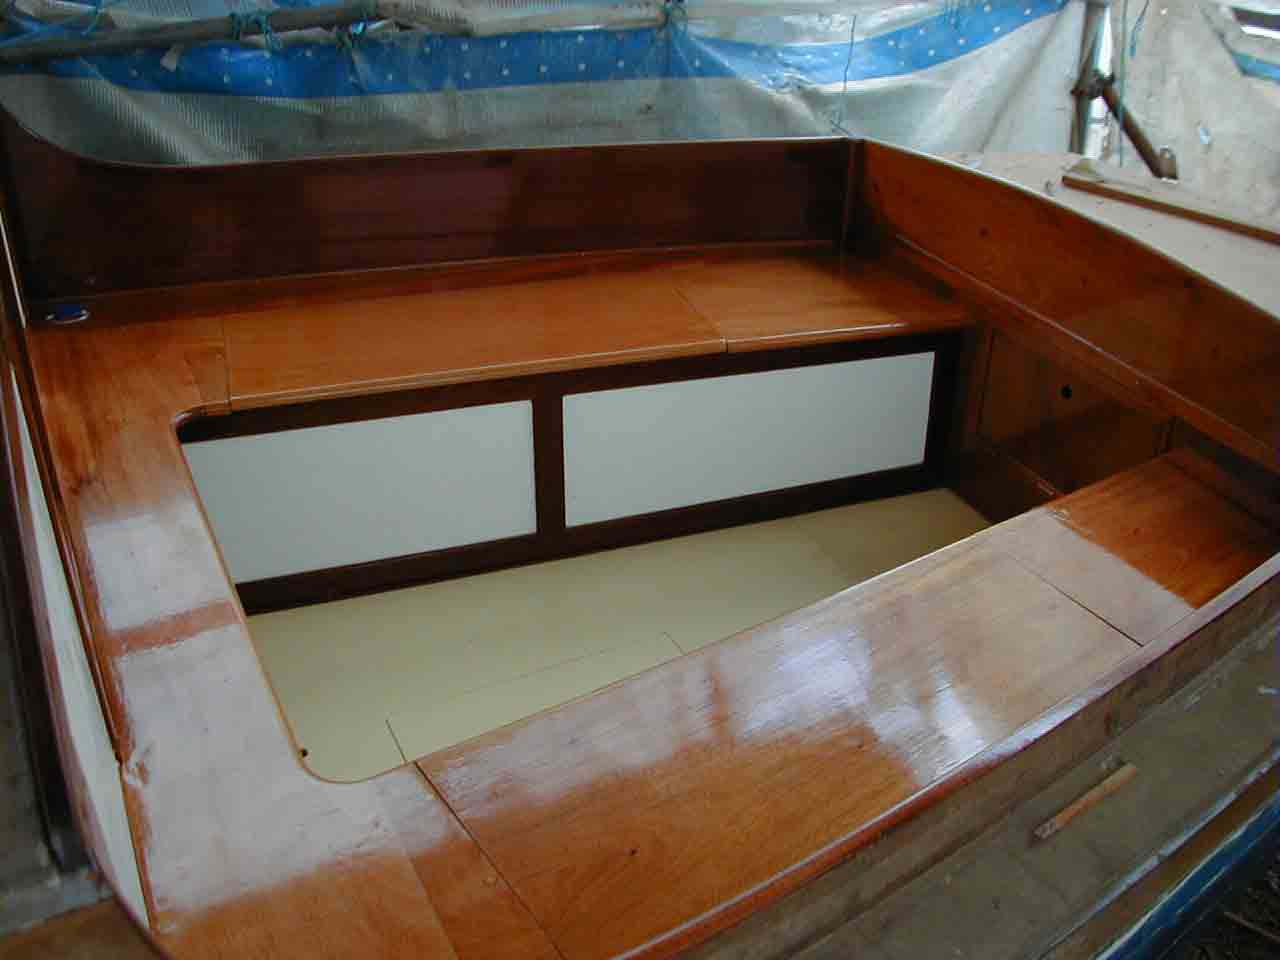
The cockpit stern locker bulkhead, locker sides. bridge deck beam, and locker support beams have been made and fitted but not finally secured as they all have to come out again to fit the tanks when they arrive.

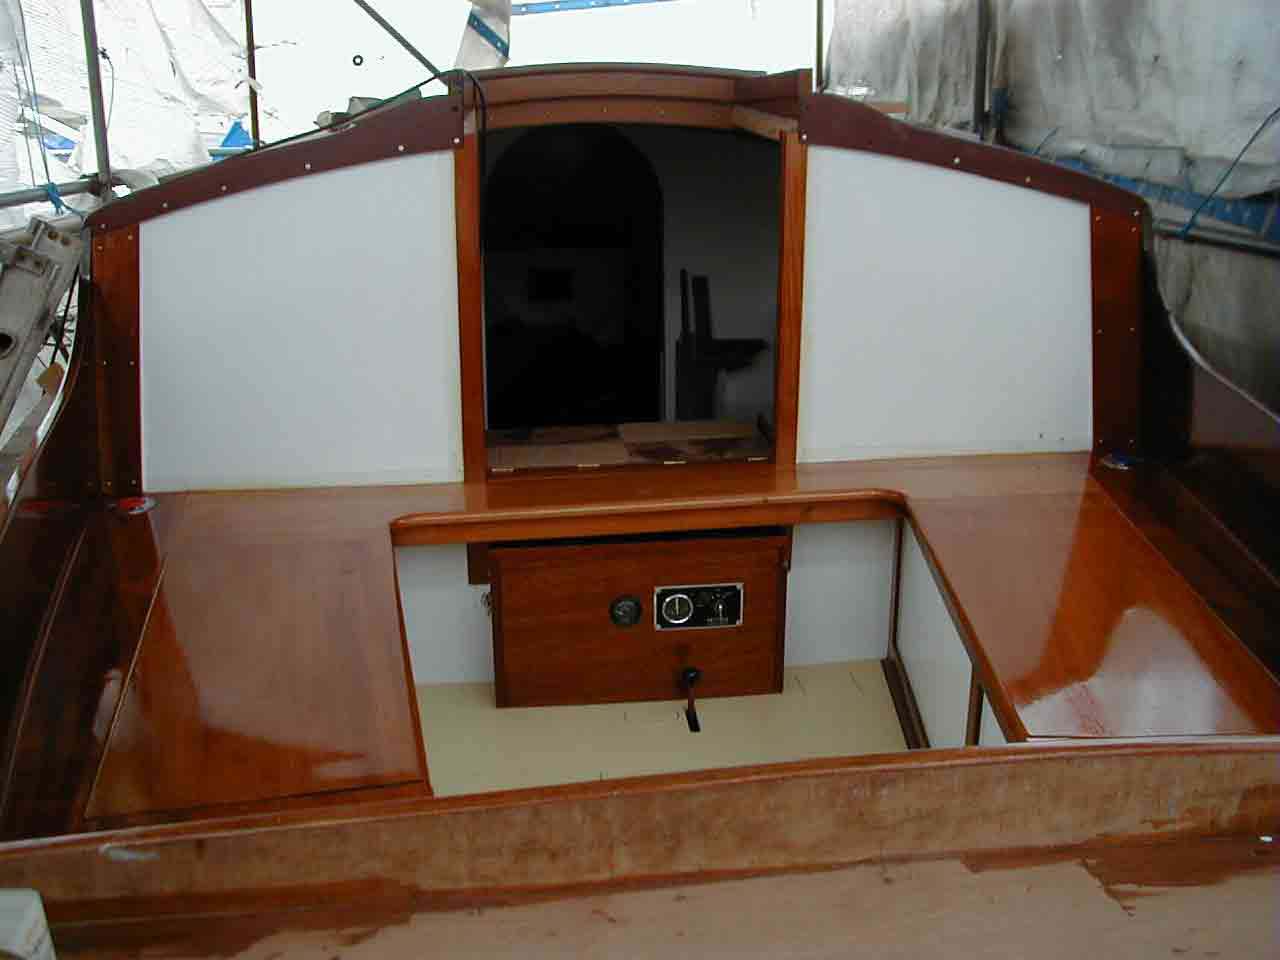
The next thing is to make the engine housing, both inside the saloon and in the cockpit, where it protrudes under the bridge deck. This has got to be made removable to gain access to the engine for routine maintenance. The cockpit end of the housing also has to carry the instrument panel. The gear shift lever is under the bridge deck, out of the way of the cockpit but with in easy reach of the helmsman. The throttle position has yet to be decided.
I have been held up in the main waiting for the assistance of other people. Firstly, I am waiting for the Fabricator to finish my fuel and water tanks. The tanks were cut and tack welded to shape and placed in the boat for checking. The fuel tank was a perfect fit but not so the water tank. This had to be taken away, re-formed and tack welded back together again. The fuel tank was fully welded up at the same time. They were both returned to the boat, the water tank to check the fit which is now correct, and both to have the positions of the securing lugs marked on them together with the positions of the pipe fittings and inspection plates etc.Three weeks later and I'm still waiting for them to be completed. Until they are installed I can not complete the cockpit furniture.
Meanwhile, the engine installation has been completed and the exhaust system connected as have the electrics for the battery charging system. Two battery boxes have been made to accomodate and secure the batteries. Because of space restriction I have had to use different size batteries, 70A/H for engine start and 105A/H for the services. I also wanted to use a fully automatic charging system using a change over switch and a blocking diode. Unfortunately, there was no space available to fit the blocking diode so it has to be manual change over. The saloon furniture incorporating steps into the cockpit has been manufactured, varnished and ready for final installation.
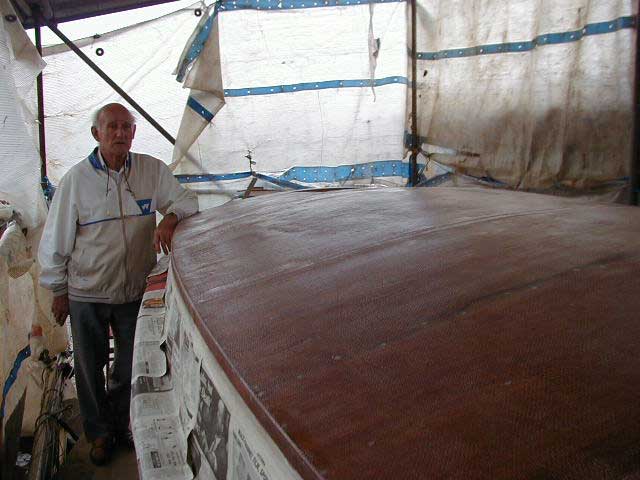
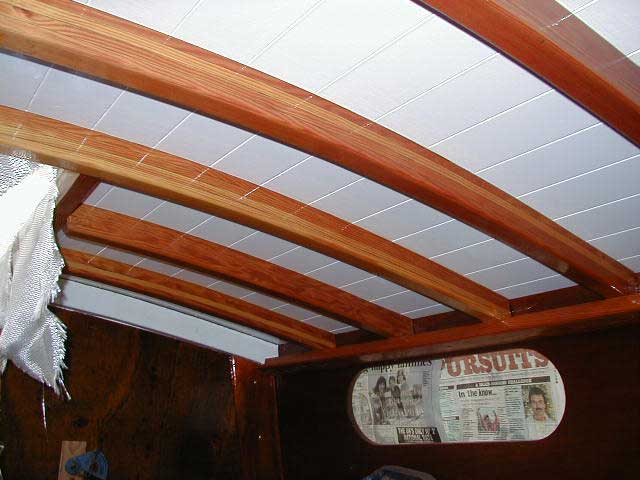
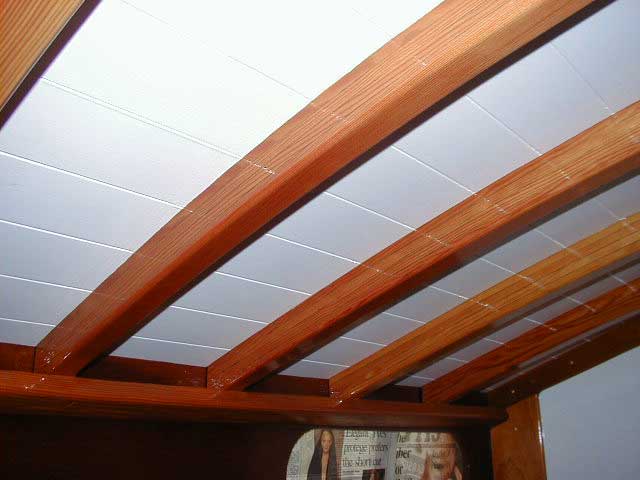
The deck of the saloon has been made and is ready for final fixing and epoxying. This has been made of 9mm Marine ply and comprises four pieces. Each piece half lapped over its neighbour and co-inciding with a deck beam. It was faired to shape and the fore hatch aperture cut out. The position of the deck beams and cabin sides were scribed on the underside with a pencil and the space between the beams "V" routed to simulate Tongue and Grooved boards. It serves two purposes, The deck being curved in two planes it makes it easier to lay by relieving some of the stress and is decorative. It was then masked off and given four coats of primer, three of under coat and two top coats of white Toplac.If it is glued and screwed down with care and the surplus glue which is squeezed out quickly removed with West cleaning solution it saves a lot of time in having to mask off and paint in situ. I am in need of another pair of hands to do this as two of the pieces are very nearly 7 feet by 4 feet and the have to be carefully lifted and accurately placed in position to avoid dragging the glue across the painted underside.
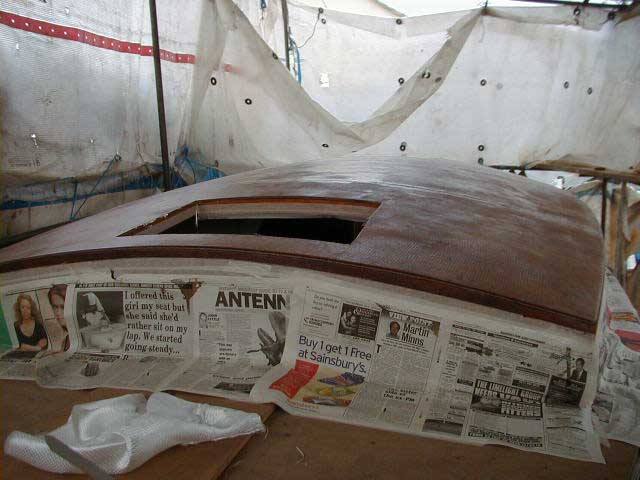
Mid June and things are beginning to come together. The saloon deck has been fitted and epoxy coated. The fuel and water tanks have been delivered and installed only to find that the fuel tank has got to come out again as the fuel uptake and return line fittings are too close together such that I can't get both of the Elbows on. The guy who made them for me is away on holiday as I will be, so another delay. Meanwhile, I have been making the saloon sliding hatch. At this rate I will not be launching this year.
End of August 2002 and at last the rebuild of the cockpit is finished. Three months behind schedule as I had planned to have completed it by May.
Work has now started on the covering board/rubbing strakes. They have been machined to profile and scarfed to make two 27 foot lengths. At the time of writing they have been glued up and I am waiting for the glue to cure. Whether or not I shall have time to fit them before I go away on holiday the first week in September remains to be seen. If not they will have to wait until I get back in October.
I have yet to work out a way of supporting them whilst screwing them into position. The boat has a walkway of scaffold boards round it following the contour of the hull and about a metre of space between the hull and the "shed" sides. A different proposition to when I put the Sheer planks in as I had the frames to clamp them to, this time I have nothing. Because of the contour of the hull I have to start at the end where there is most curvature to be able to spring them in, which is of course the bow. From that position I can't see the blunt end! Once screwed on they have to come off again to be finally glued and screwed in position. They require glueing because they are the outer datum for the Teak deck I want to lay. They are also the datum for the size of king plank which has to be notched to take the full width of each deck plank which will be not greater than 38mm wide and 9mm thick. The final width will be determined by the number of planks I need to fit.
It is ironic that the day I go on holiday is the second anniversary of the commencement of the restoration.
Continued in Part 4